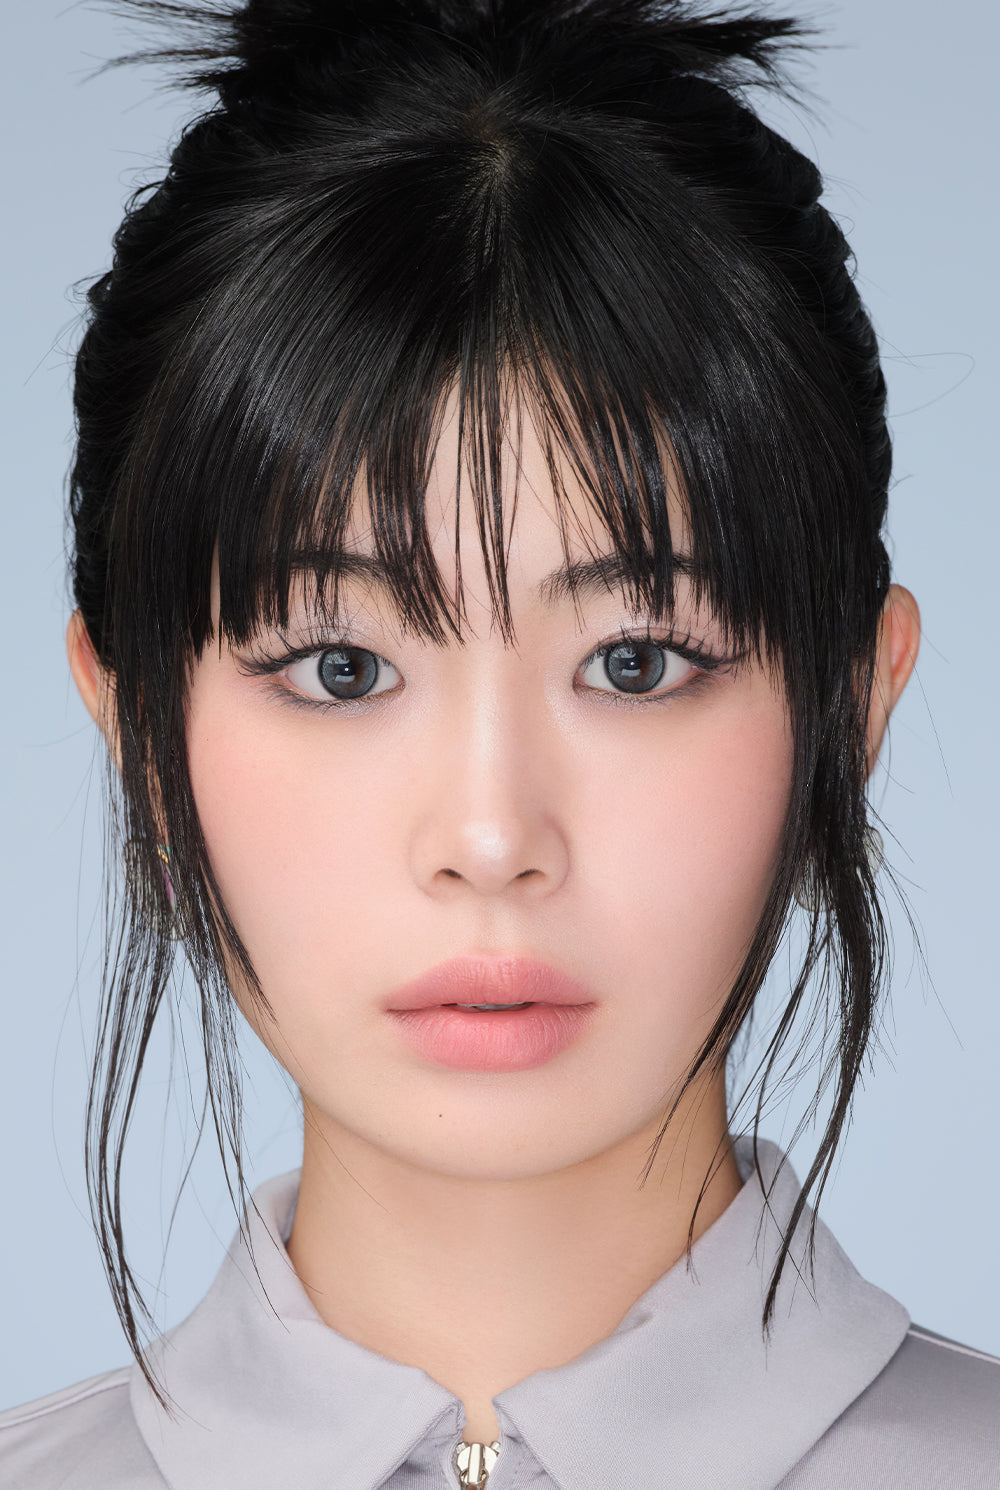
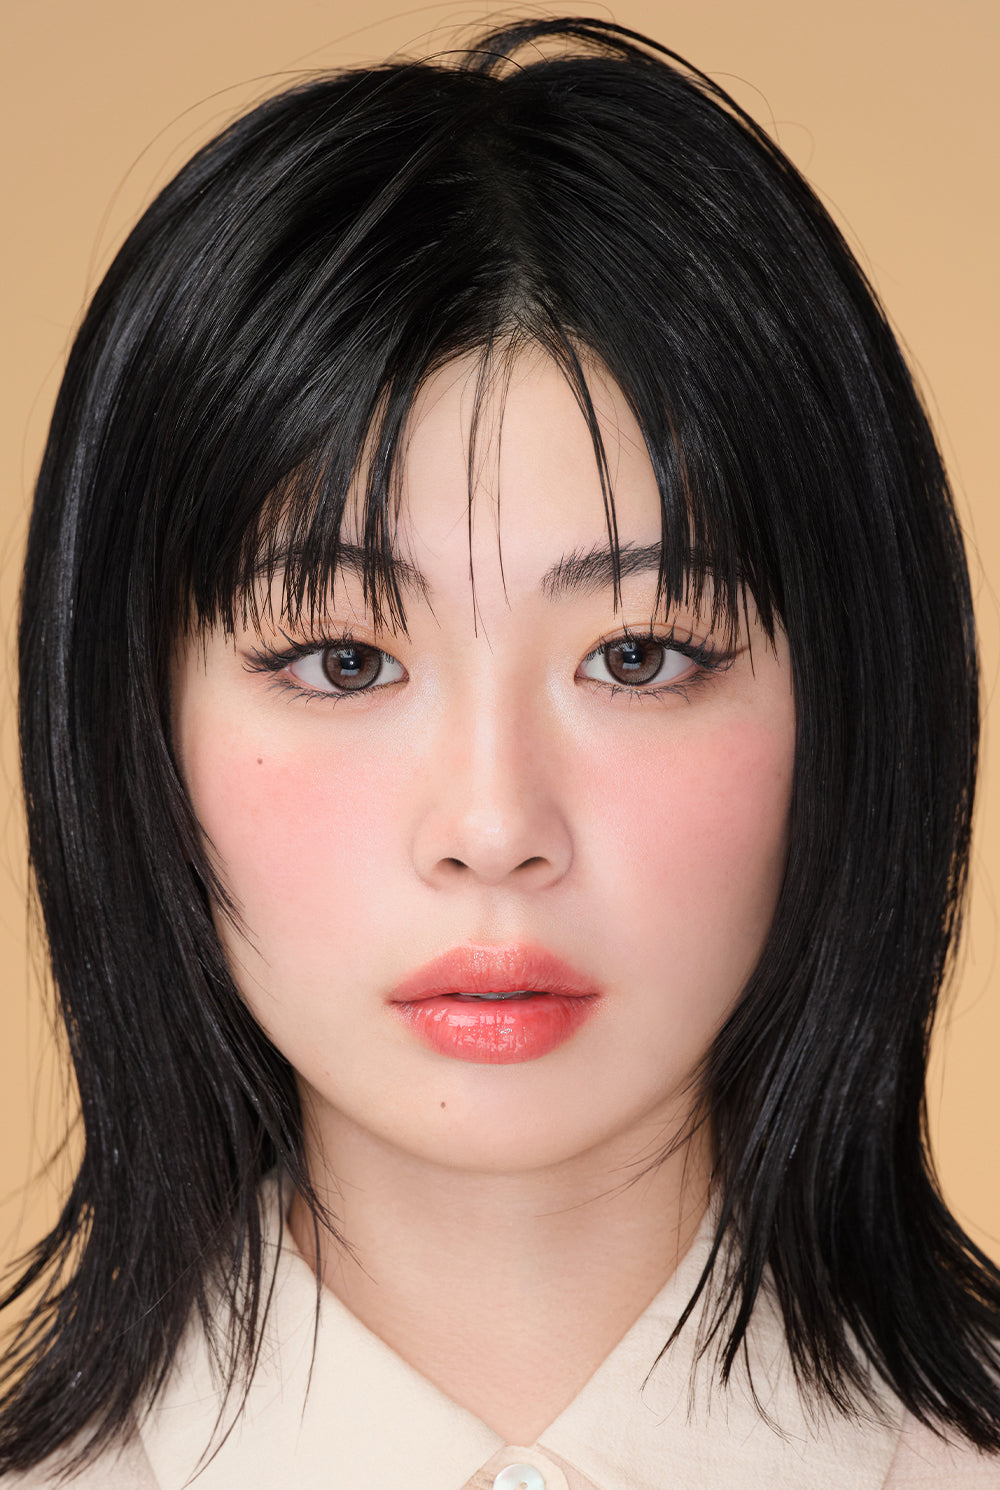
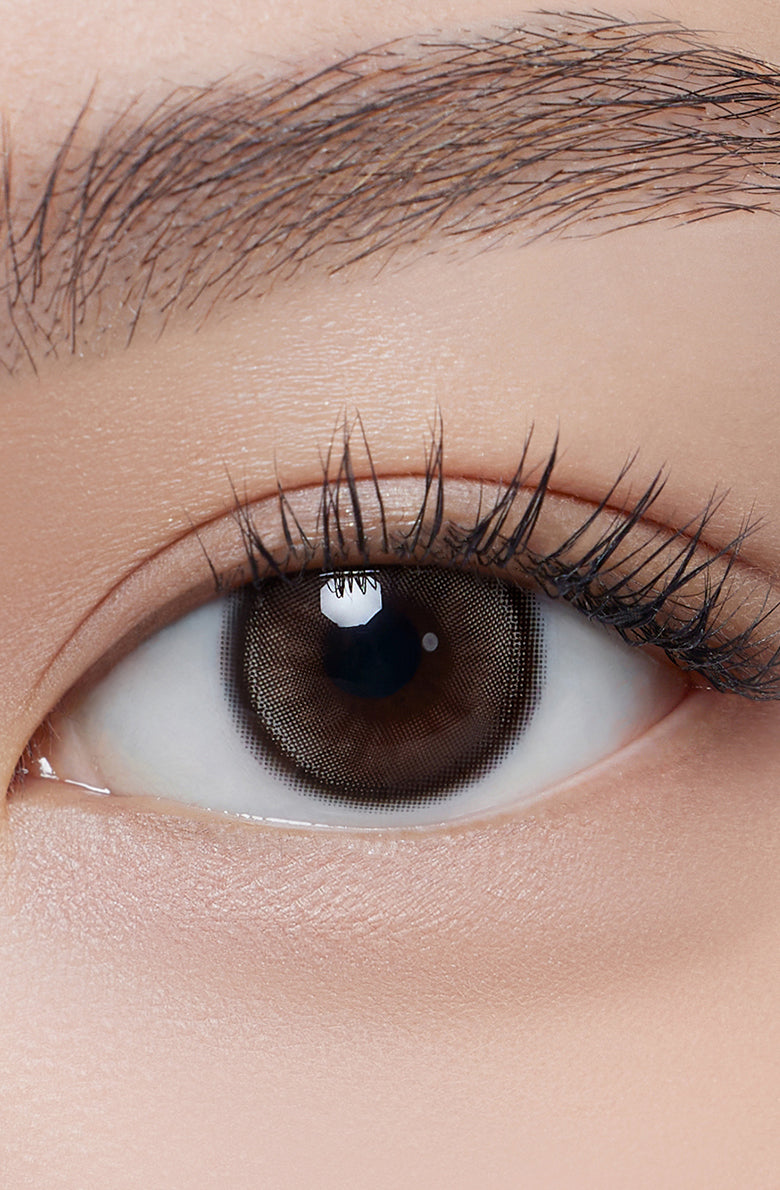
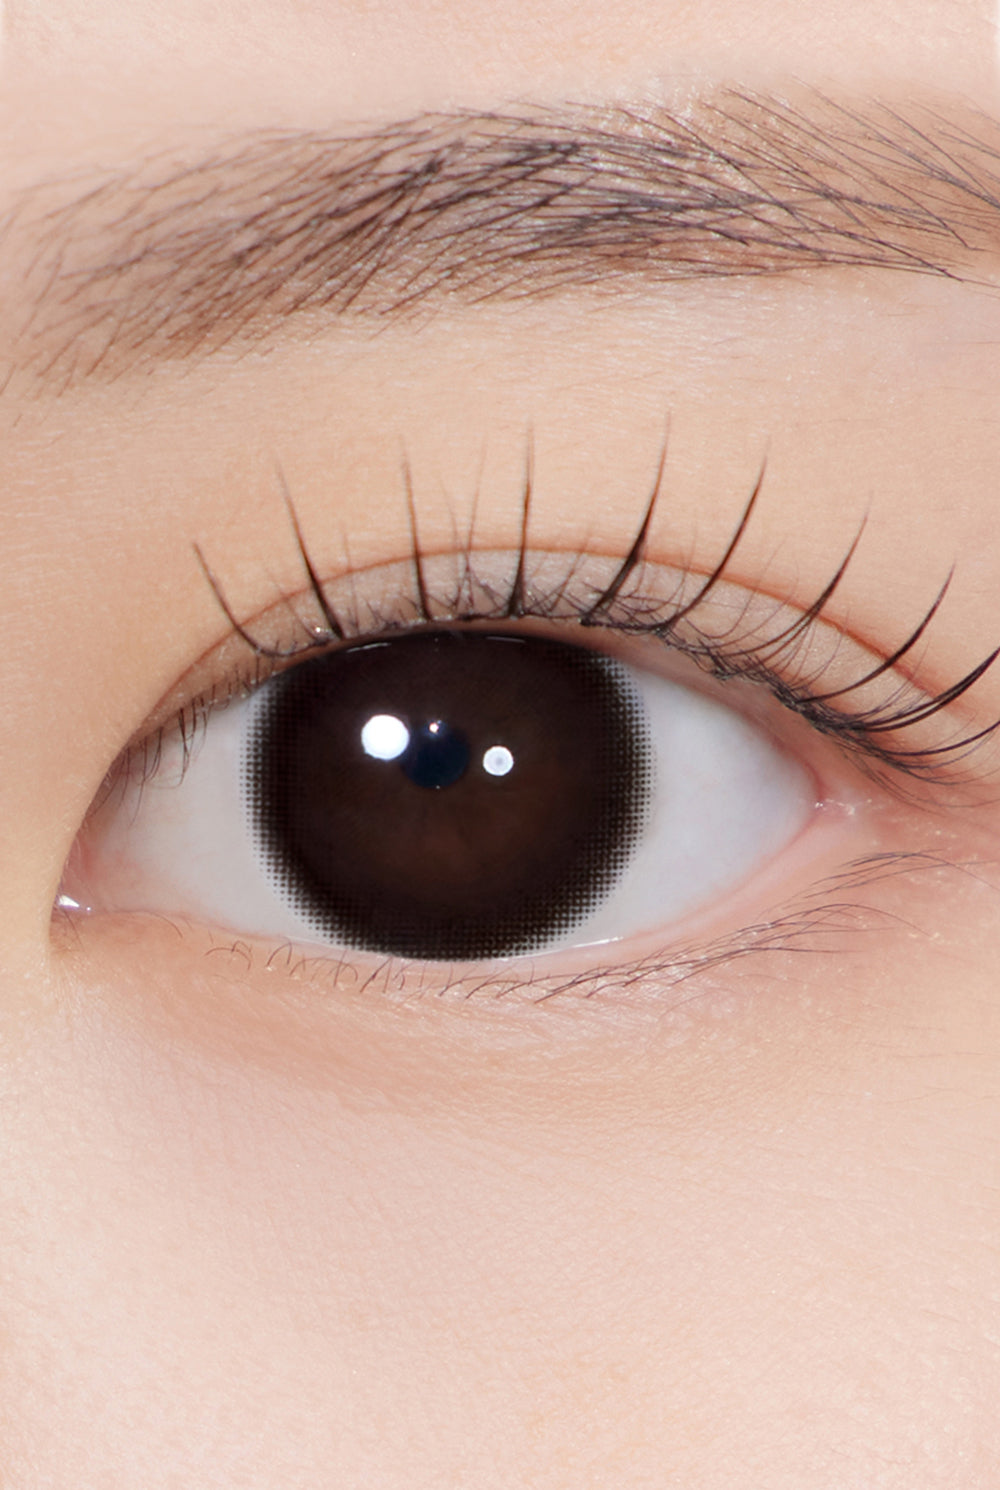
see image by
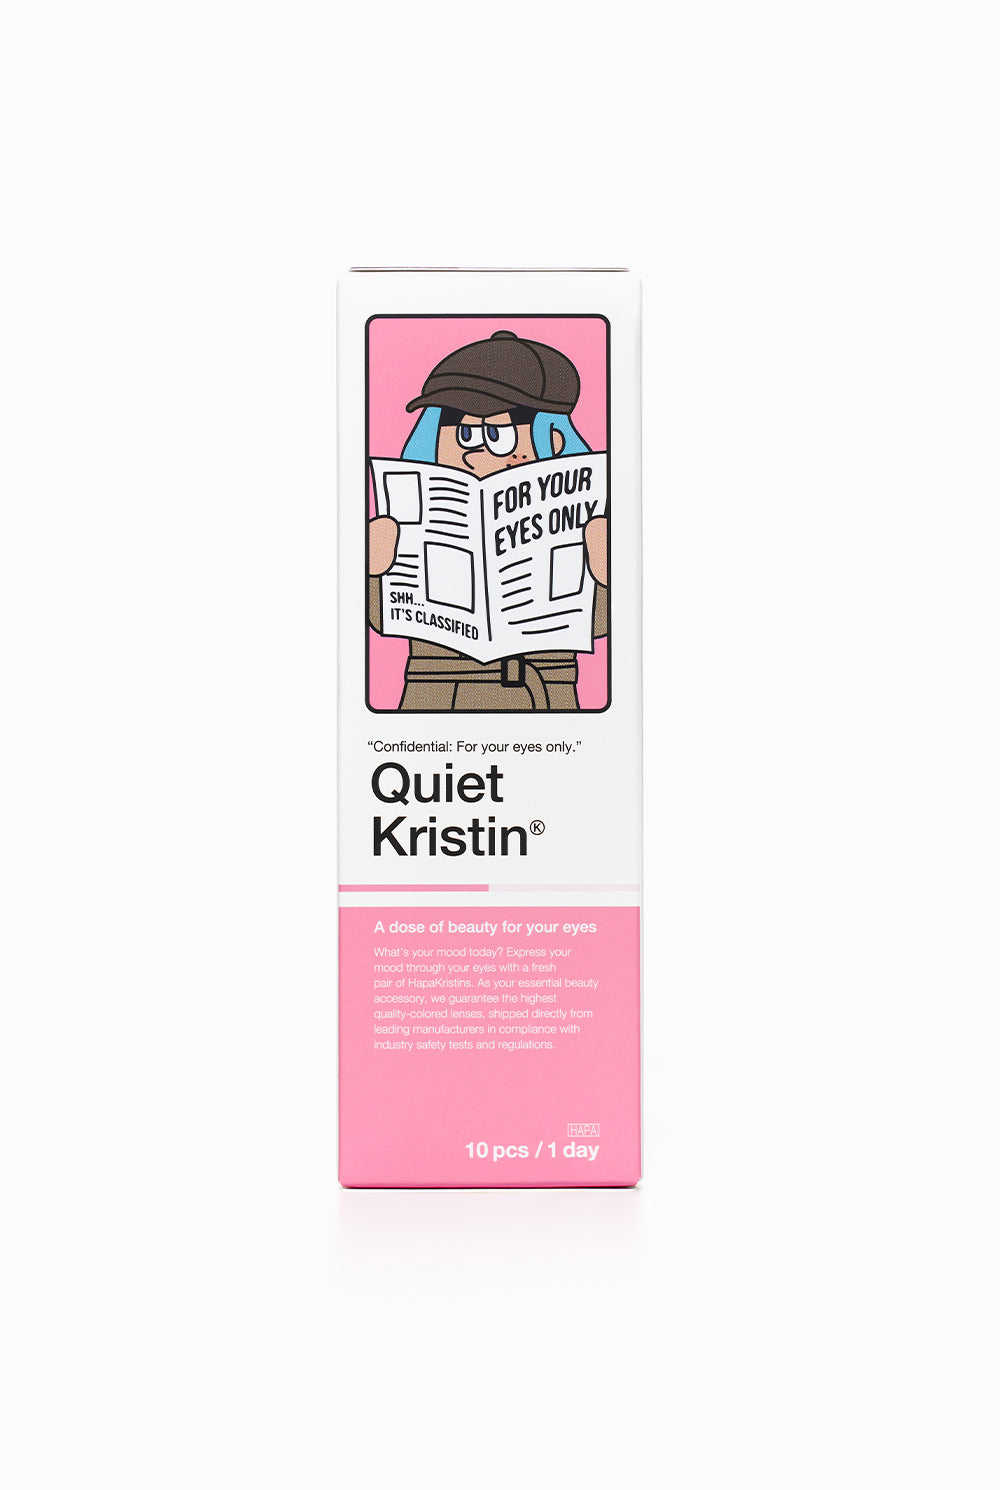
Quiet Kristin 1Day - Glow Black
Dolly Kristin 1Day - Lavender
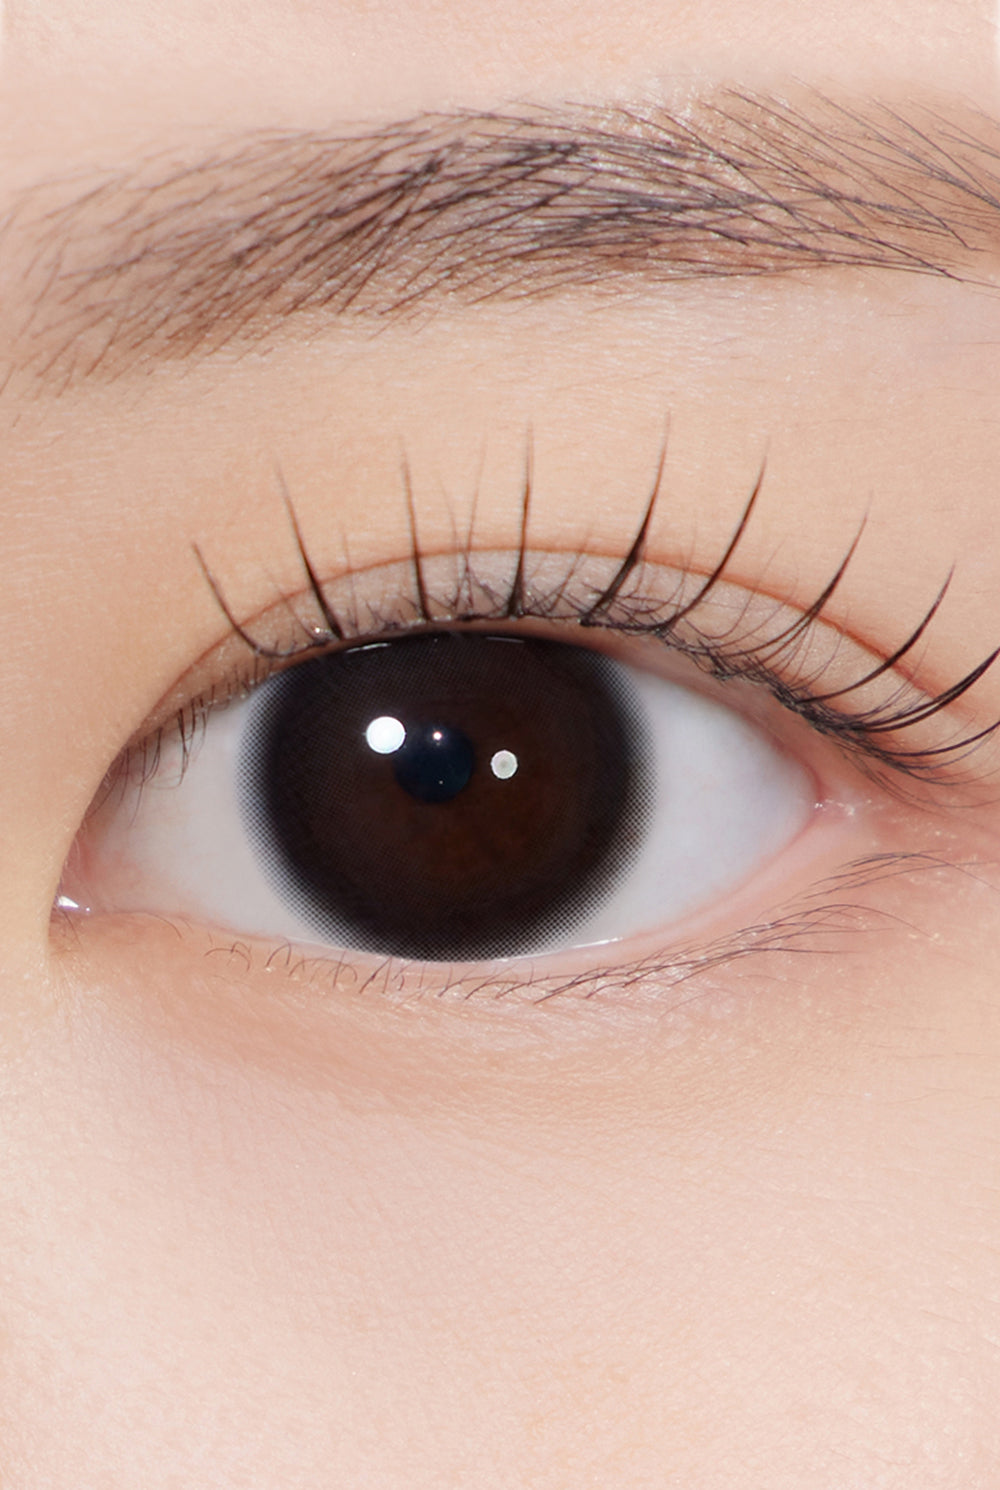
Quiet Kristin 1Day - Glow Brown
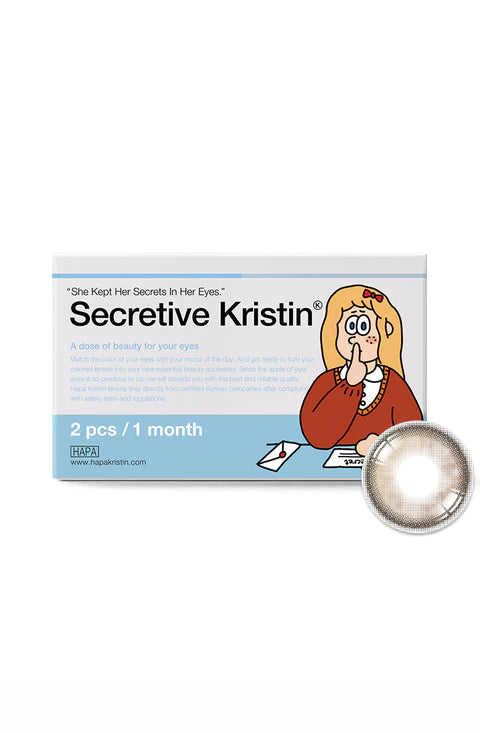
Secretive Kristin - Beige
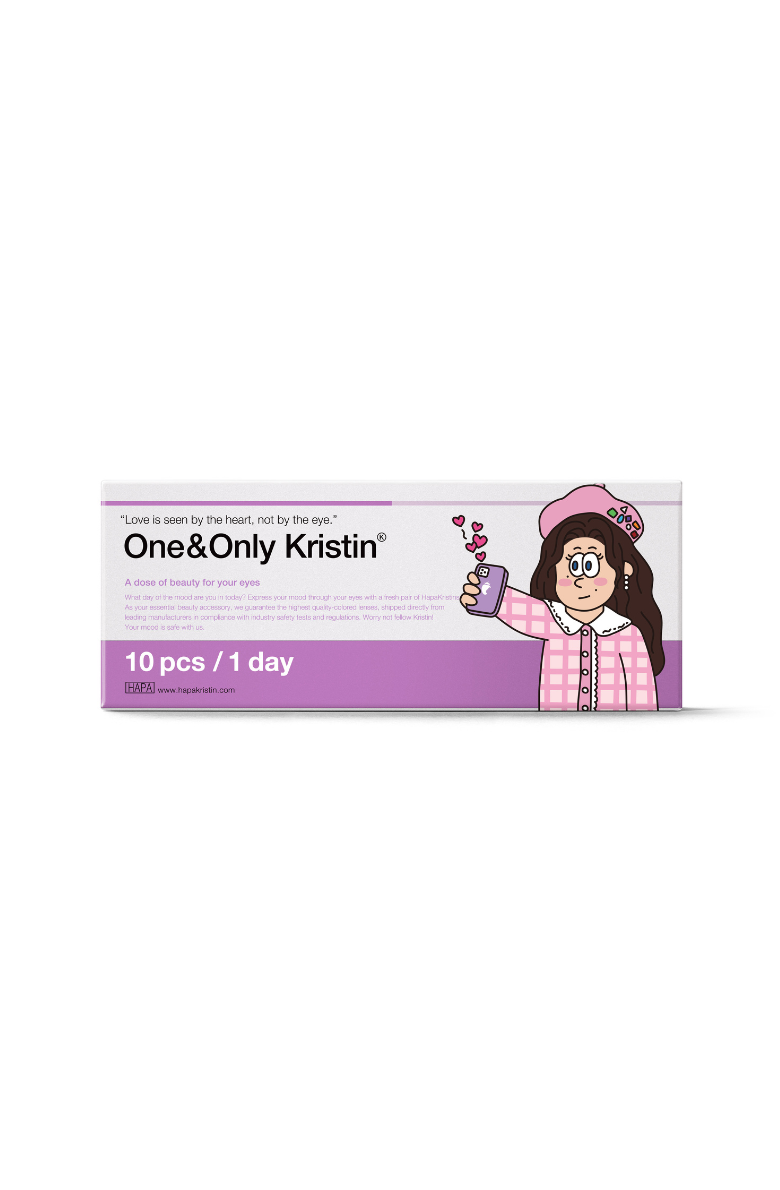
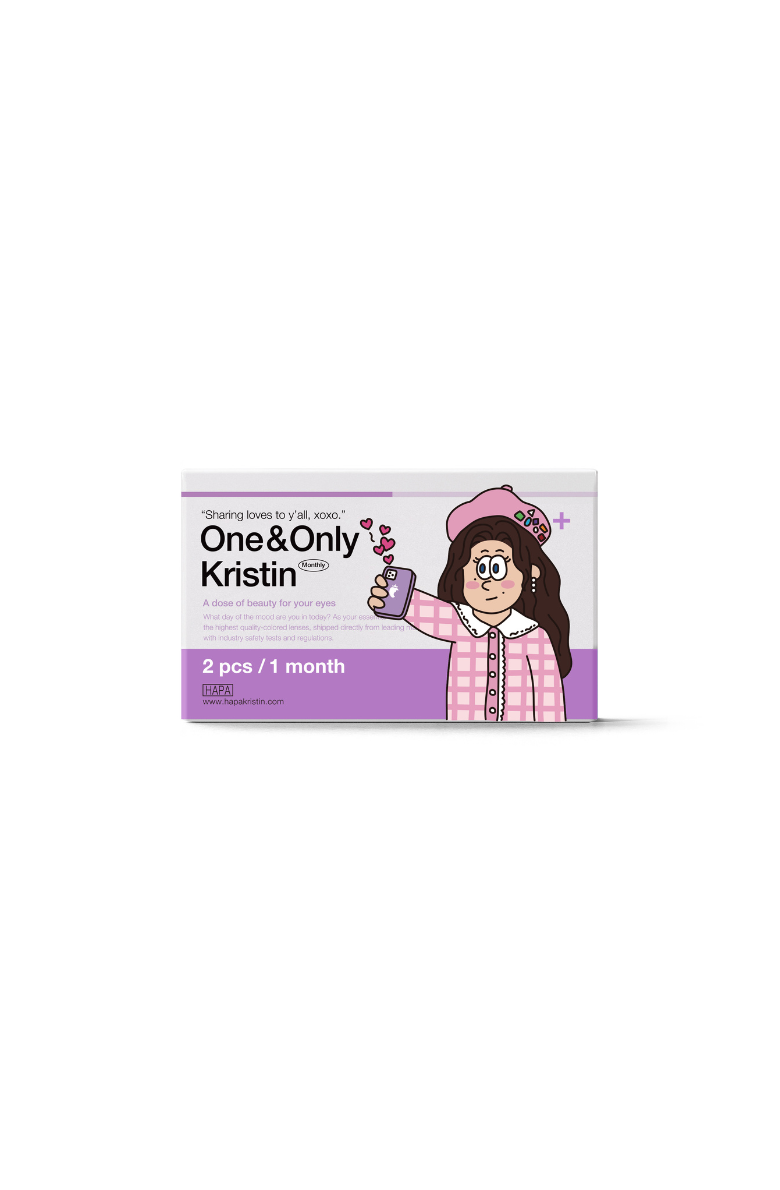
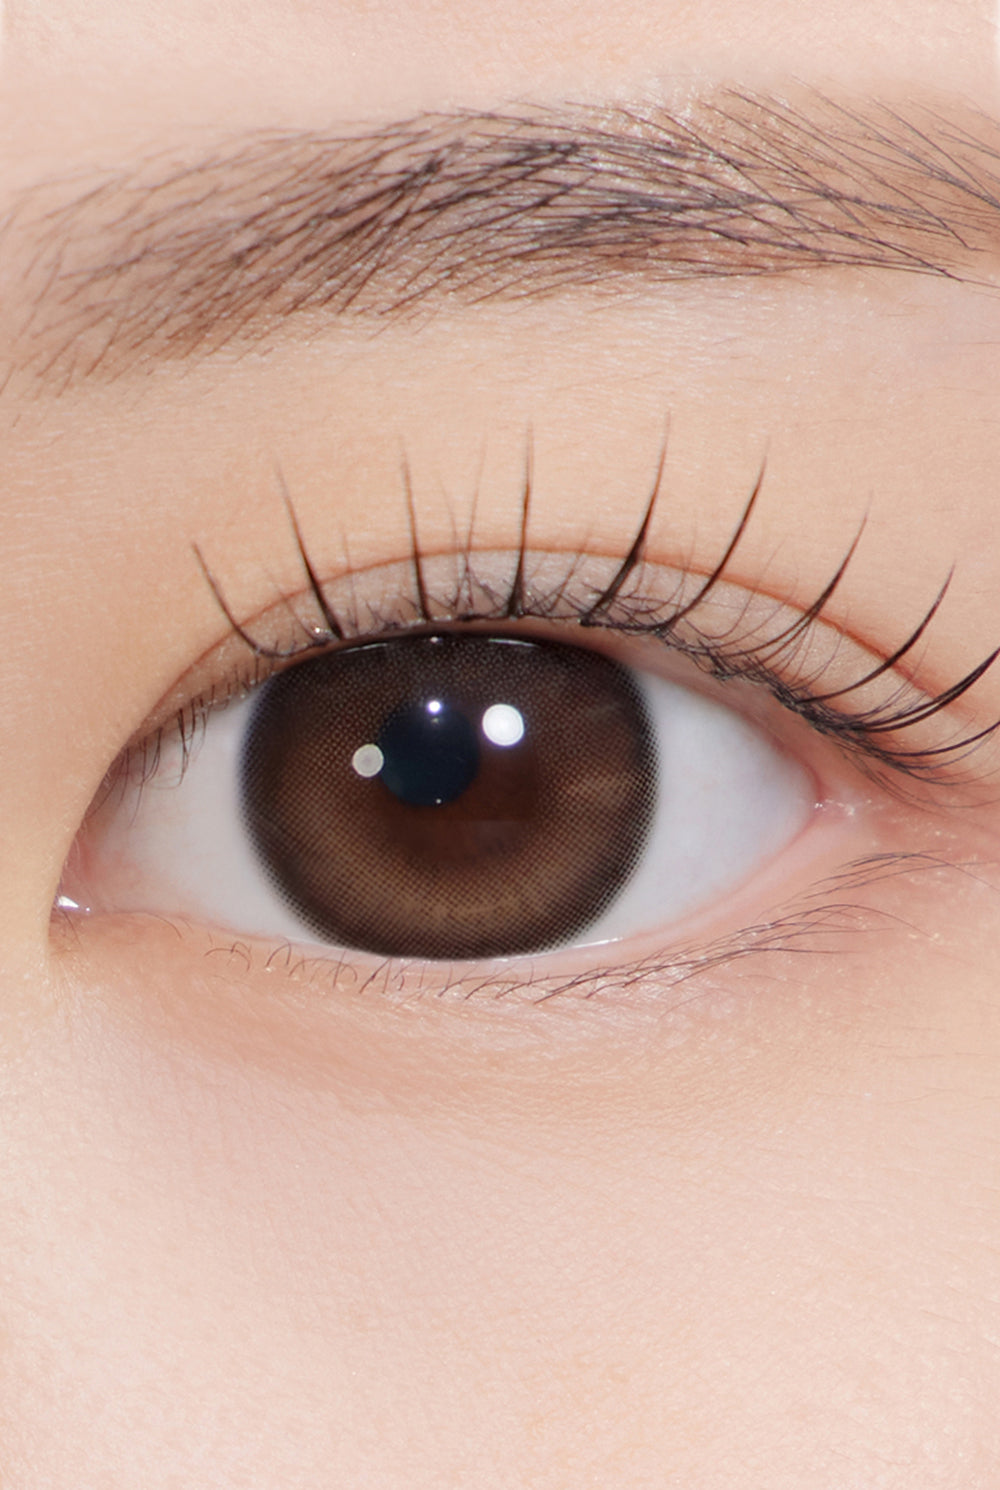
One&Only Kristin 1Day - Brown
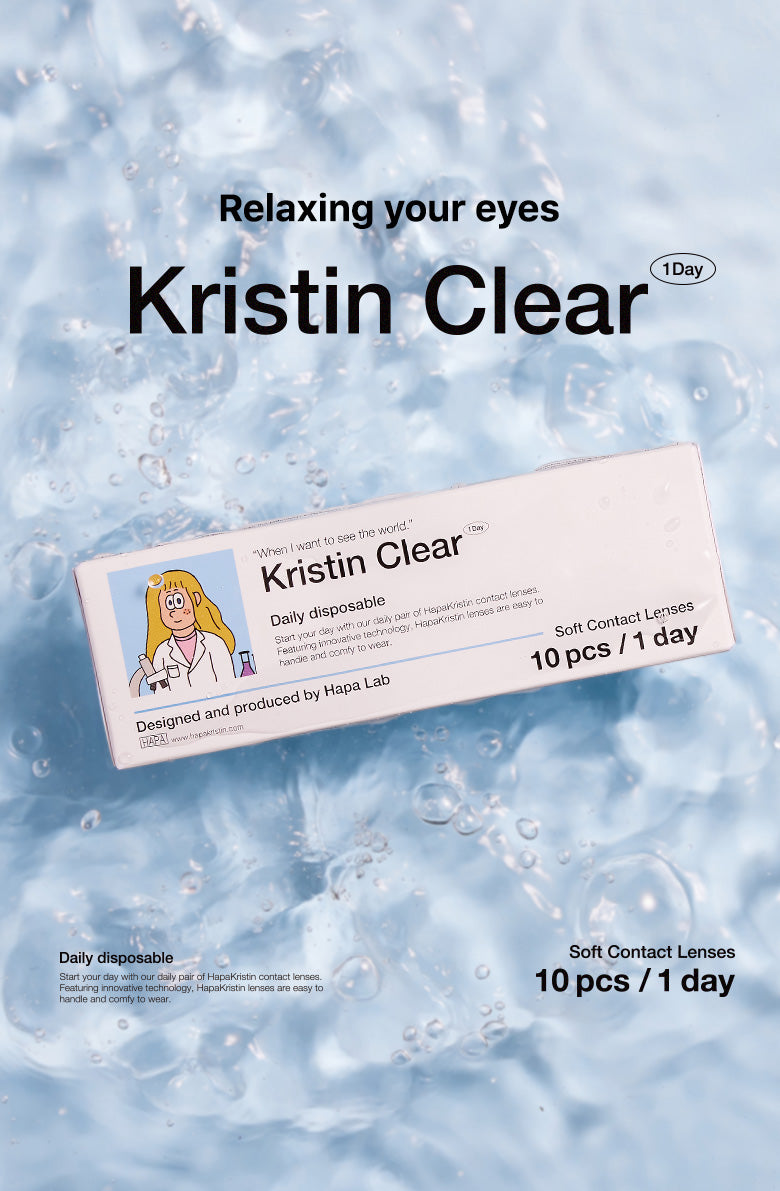
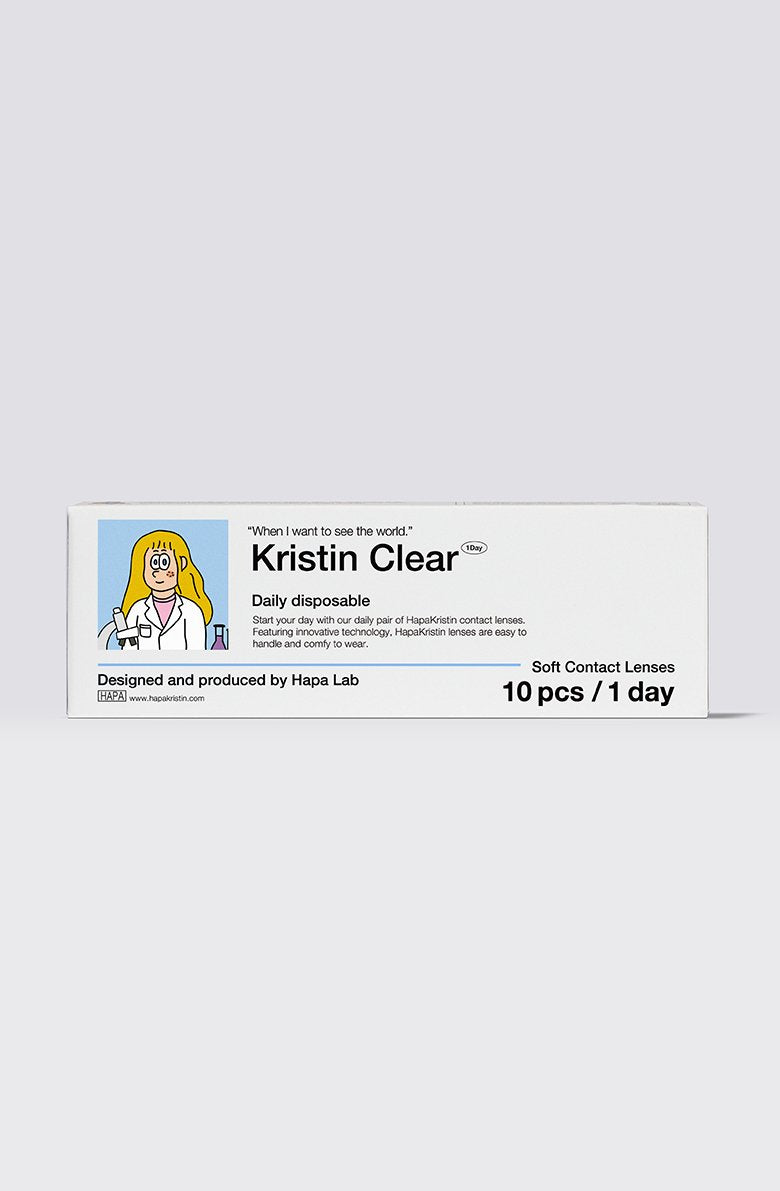
Kristin Clear 1Day
Dolly Kristin 1Day - Gray
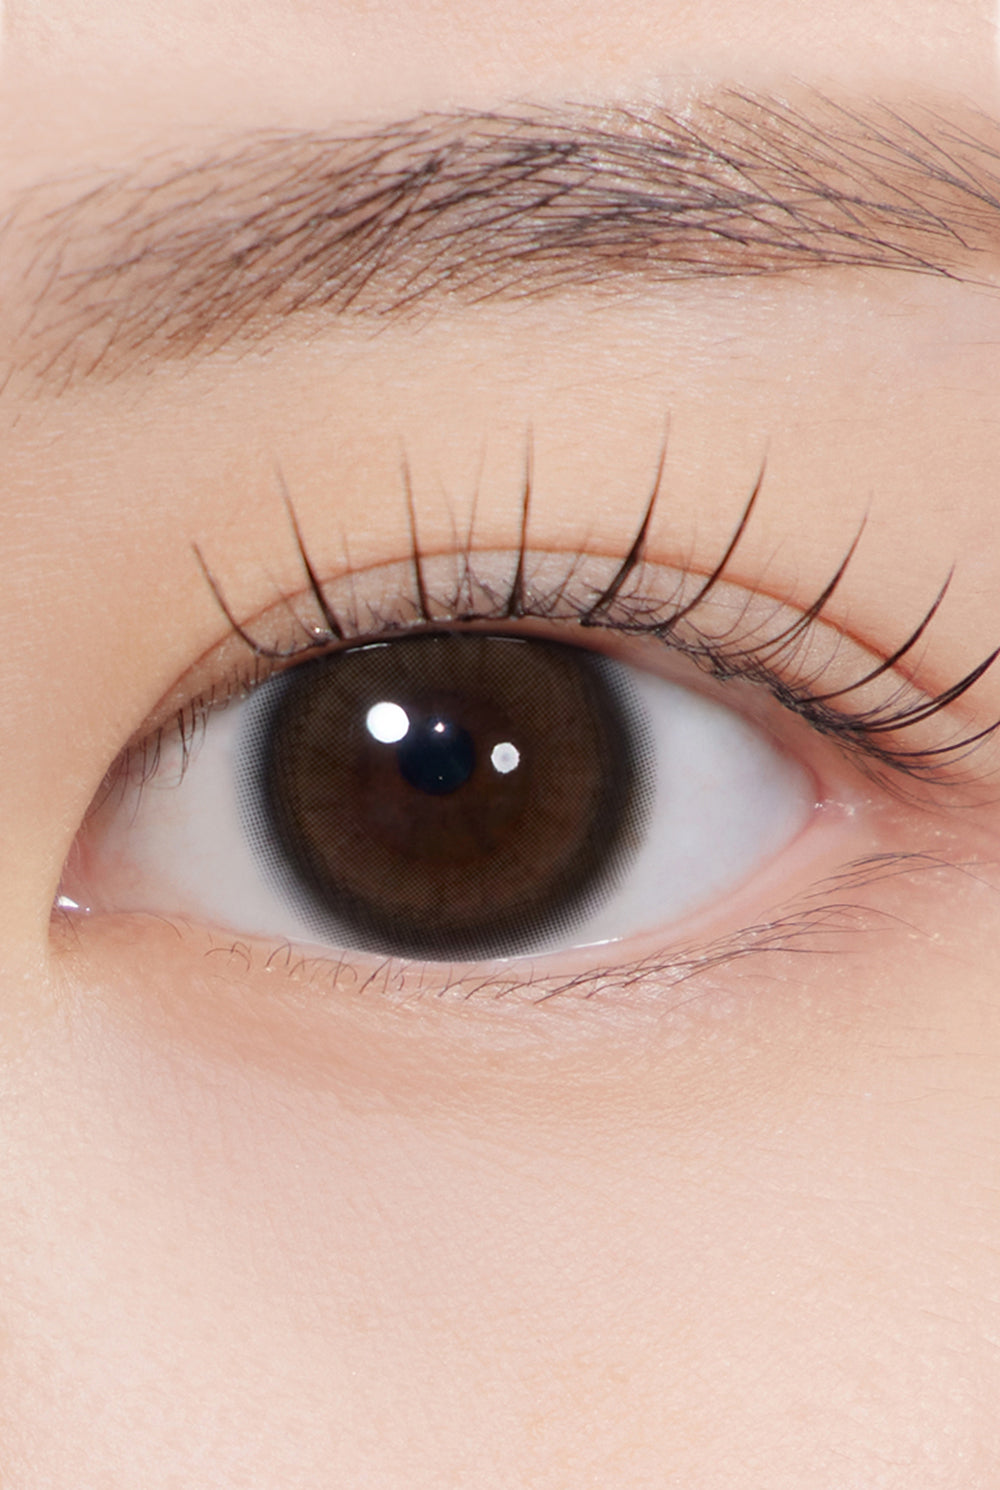
Dolly Kristin 1Day - Choco
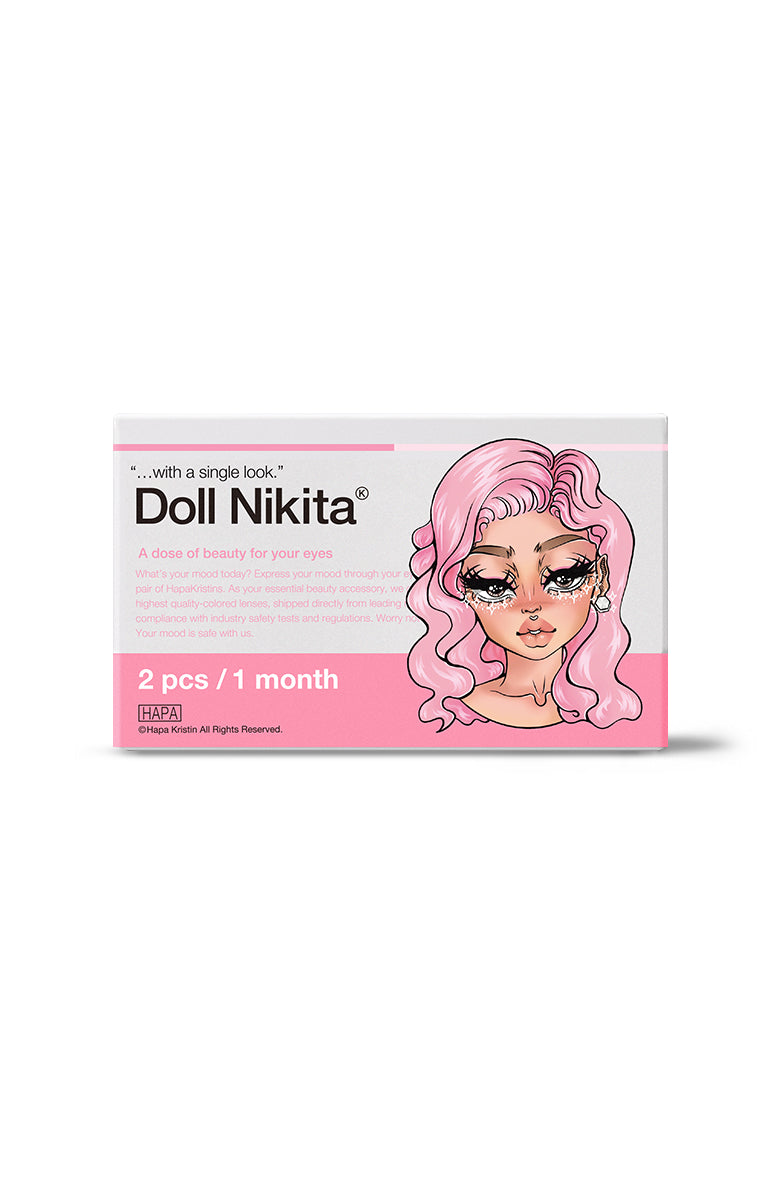
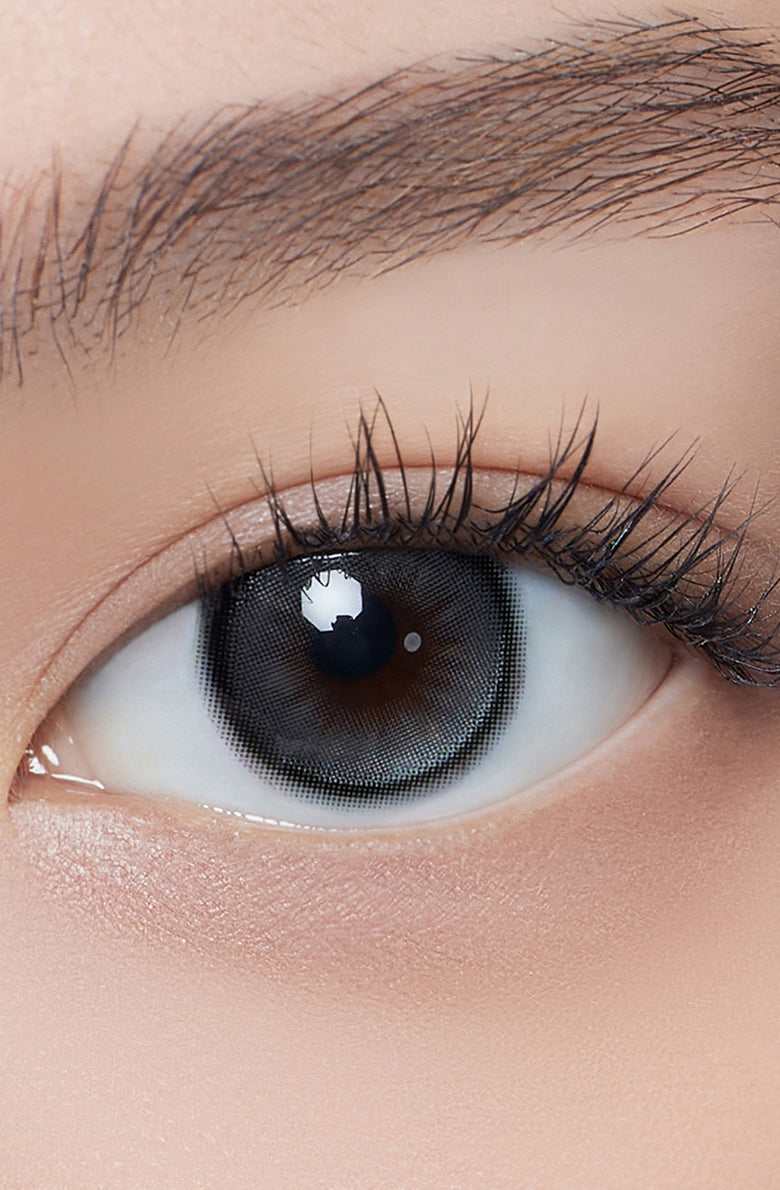
Doll Nikita - Black
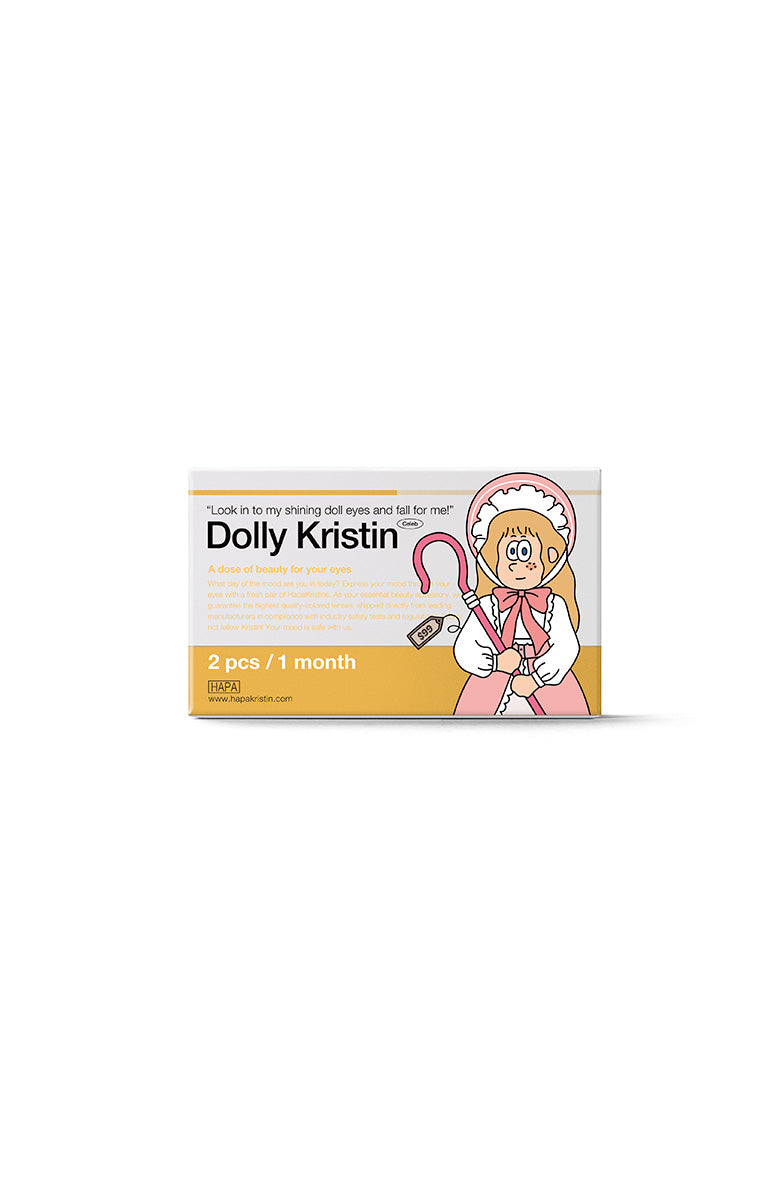
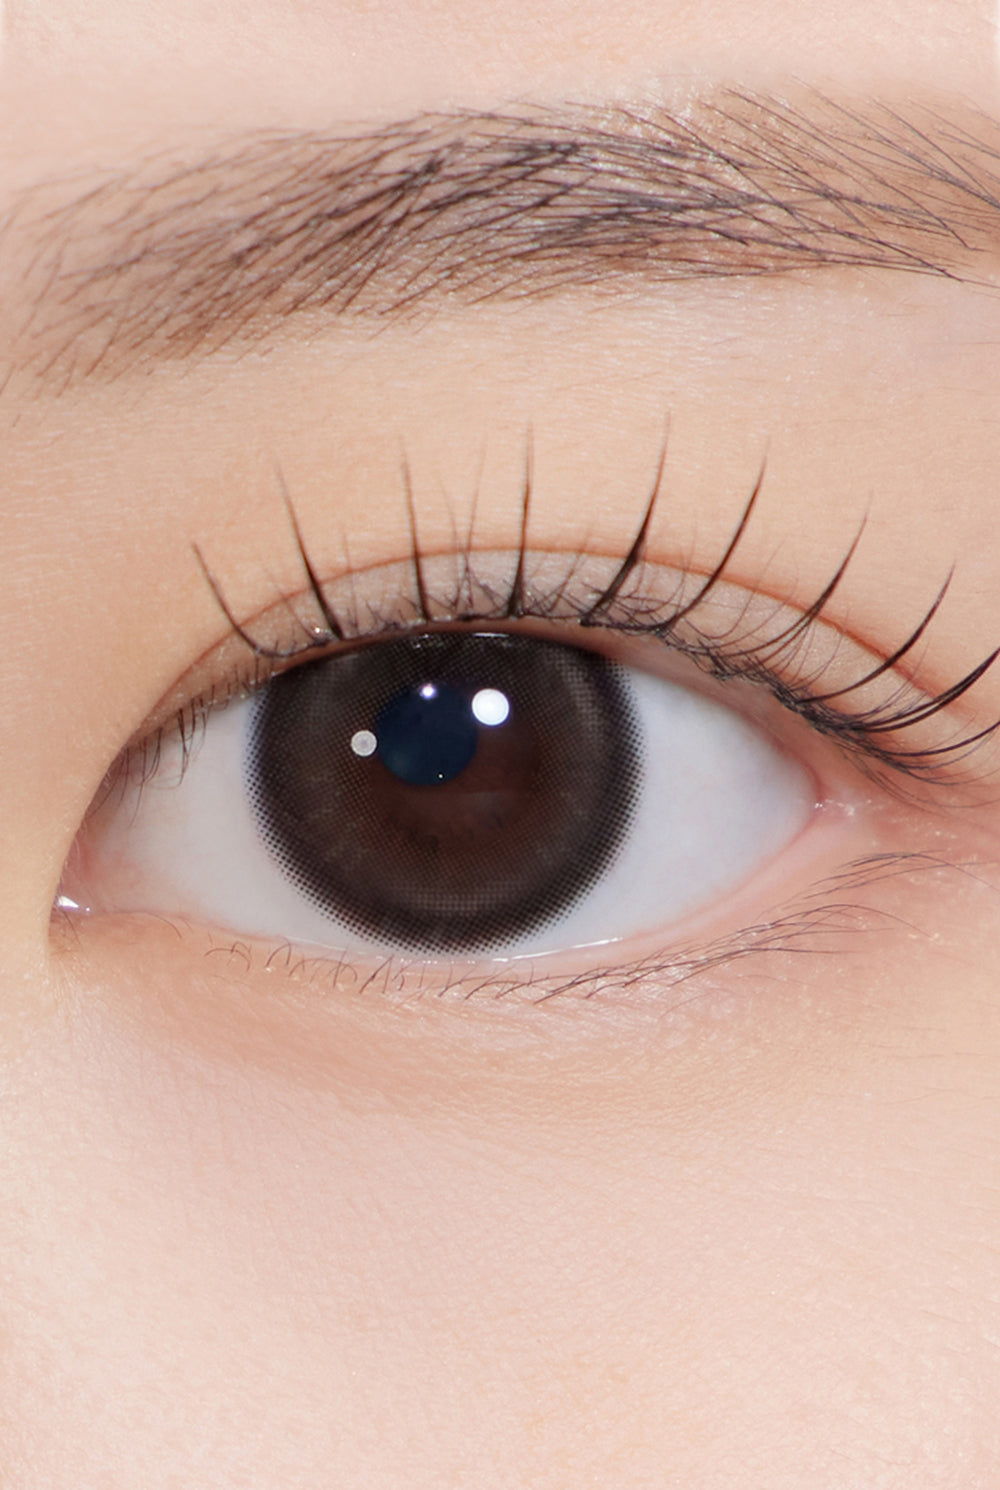
Dolly Kristin - Gray
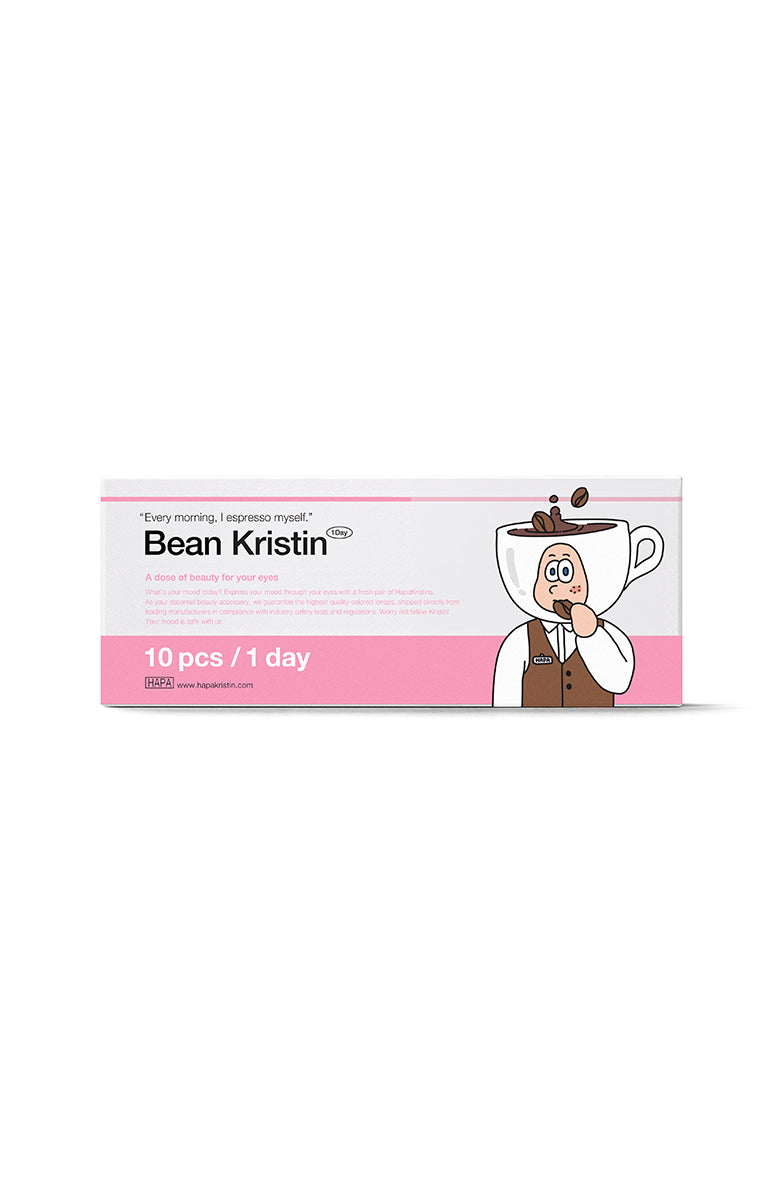
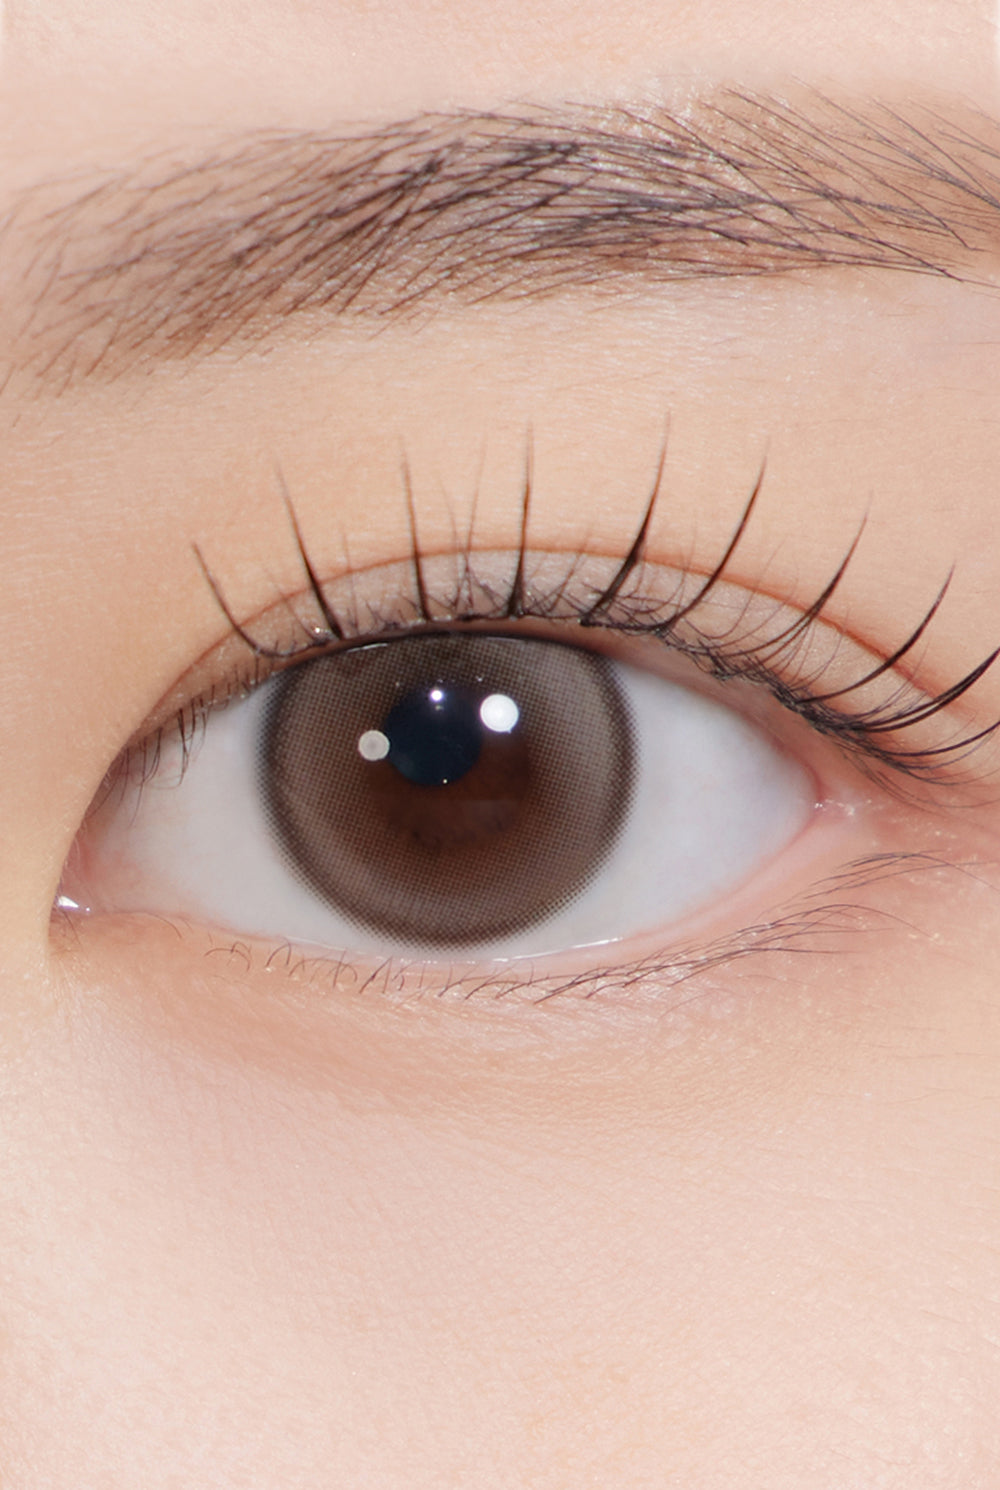
Bean Kristin 1Day - Drip Brown
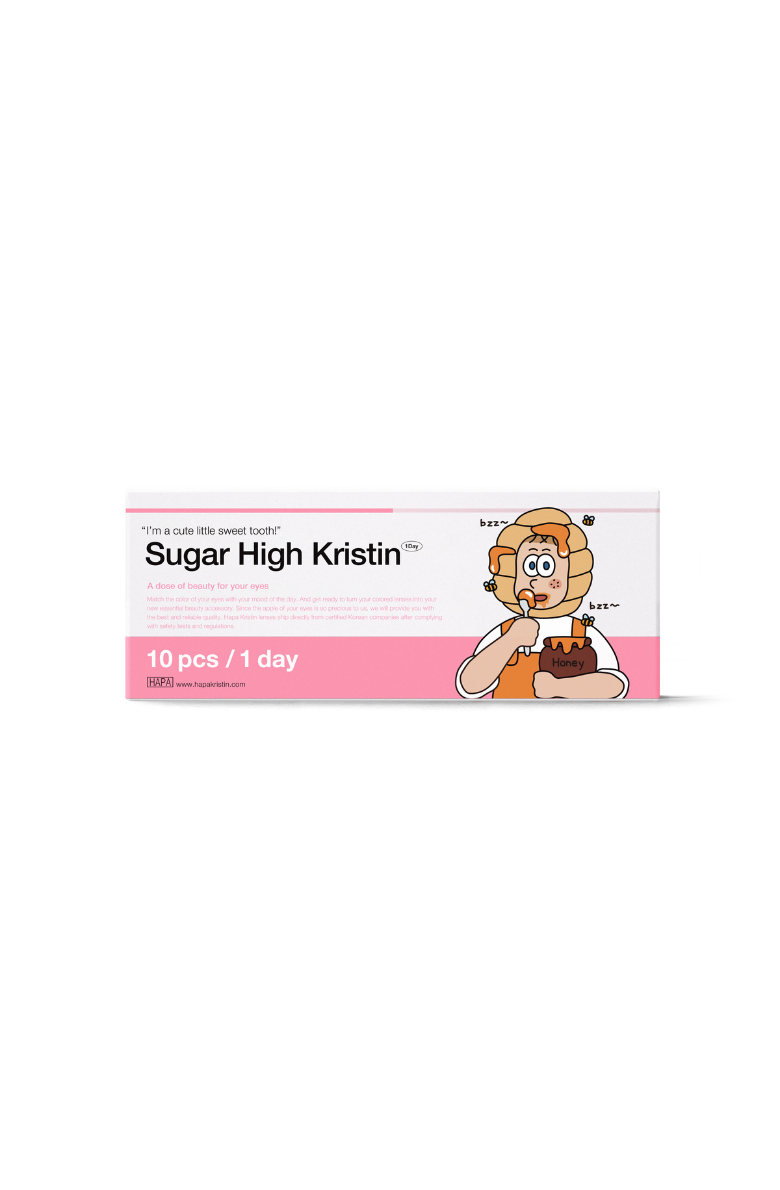
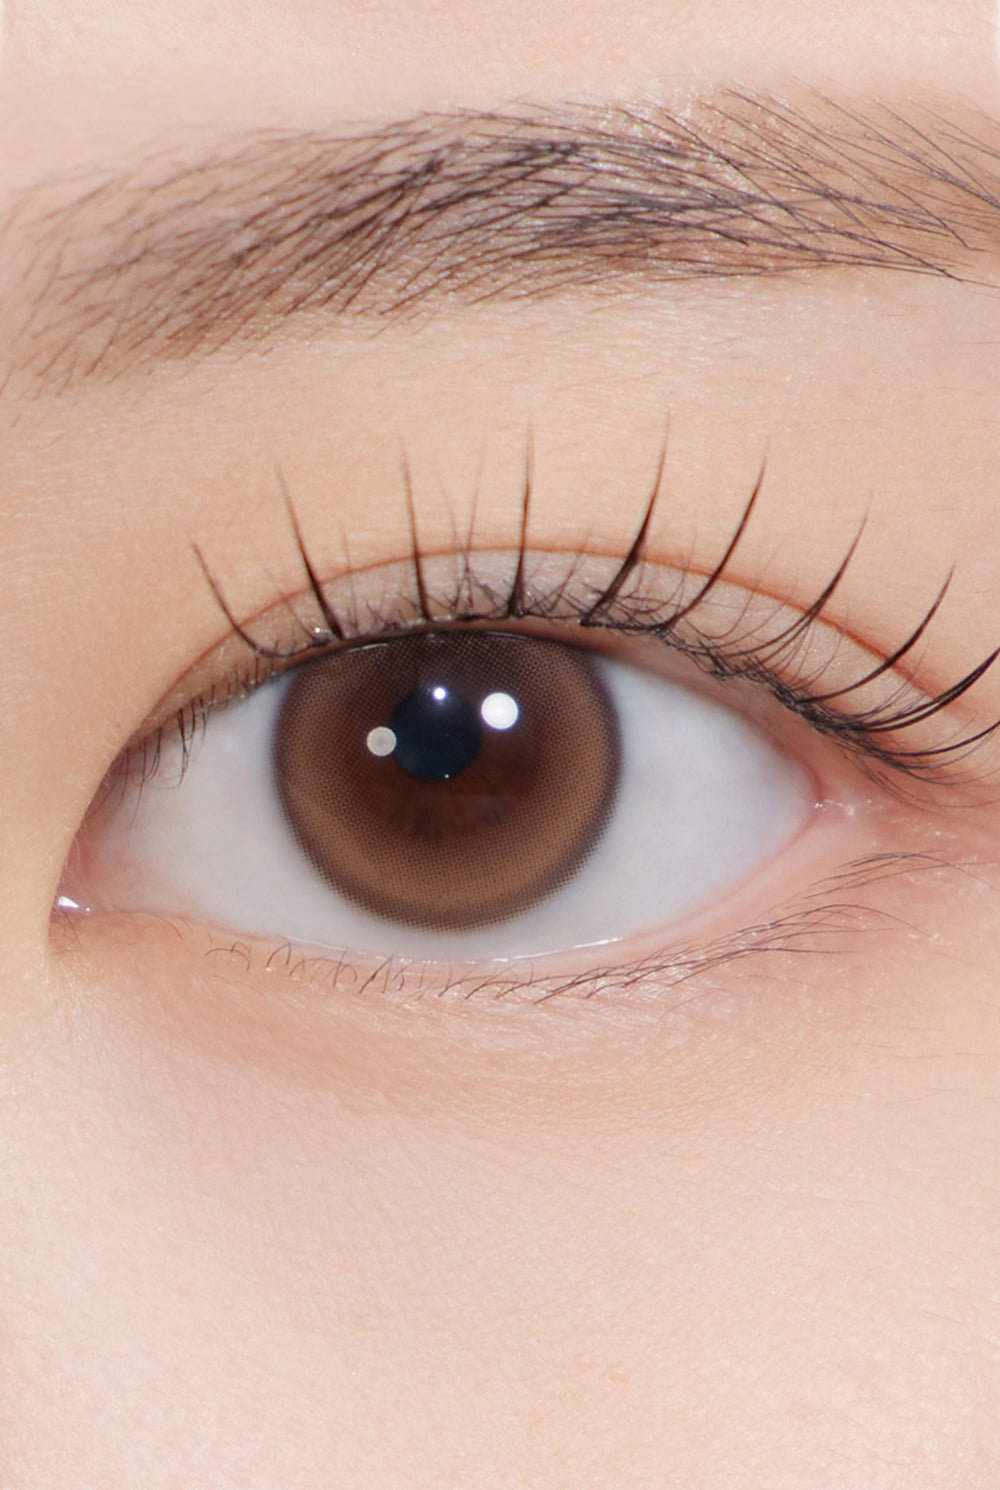
Sugar High Kristin 1Day - Ash Choco
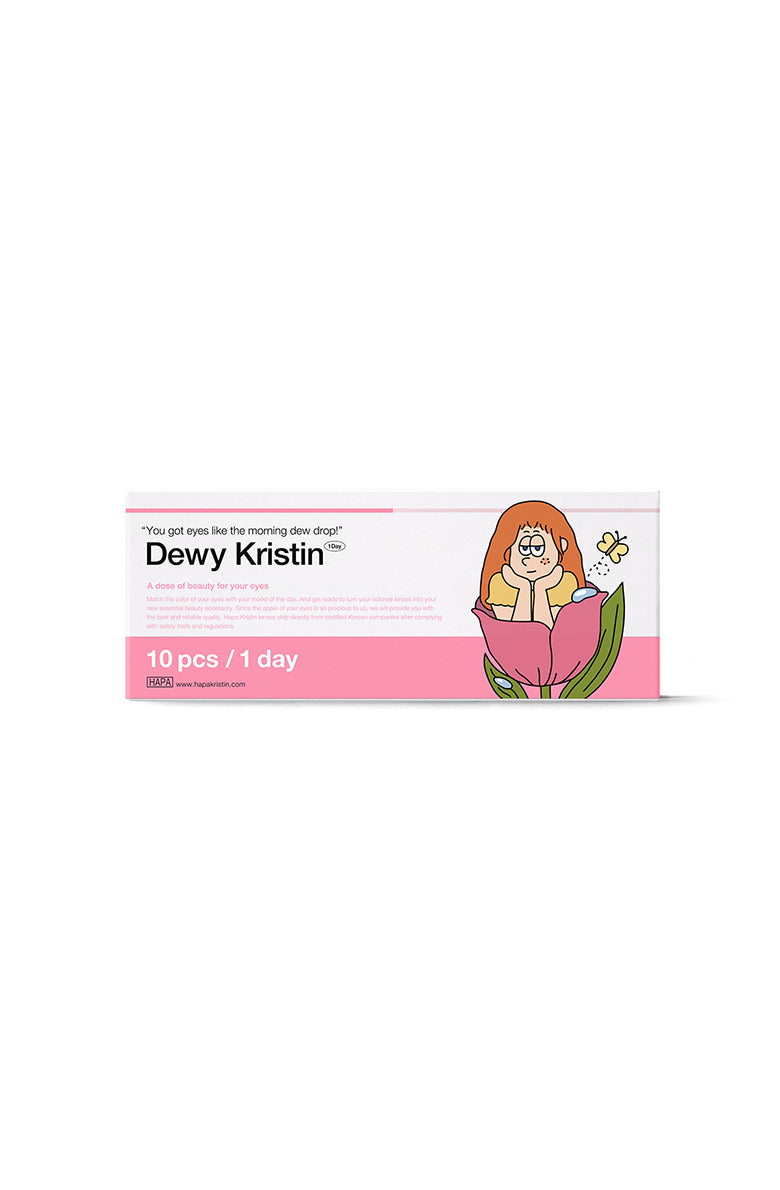
Dewy Kristin 1Day - Brown
One&Only Kristin Plus (13.5) - Brown
One&Only Kristin Big Plus (13.8) 1Day - Brown
Bean Kristin - Drip Brown
Bittersweet Kristin - Hazel Brown
First time here? Log in for FREE SHIPPING + 10% OFF on your first order